
🔍 Project Overview
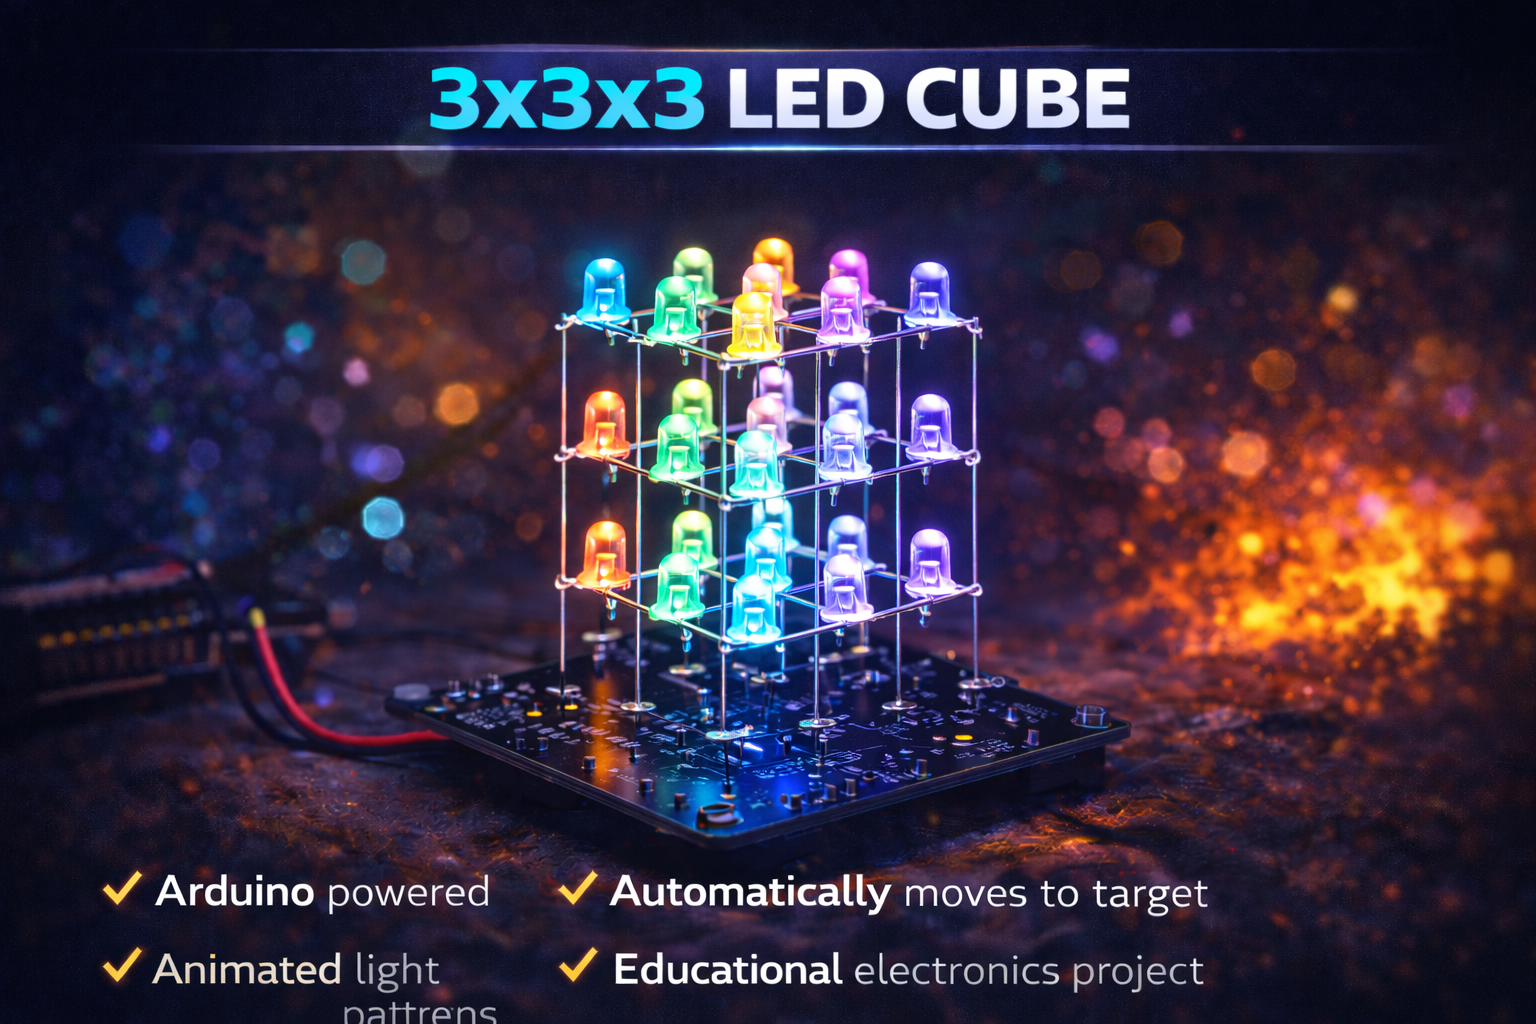
This project is a 3×3×3 LED Cube built using 27 LEDs arranged in a cubic structure and controlled by an Arduino Nano microcontroller. The cube creates dynamic lighting patterns and animations by controlling individual LEDs through multiplexing techniques.
Each layer of LEDs is controlled independently, allowing the system to generate 3D lighting effects such as waves, blinking layers, rotating lights, and random patterns.
The Arduino Nano acts as the brain of the system, sending signals to the LEDs in rapid sequences to create visually appealing animations.
This project is widely used for learning microcontrollers, LED control techniques, and basic electronics design.
⚙️ How It Works (Short & Simple)
📱 Microcontroller Control
The Arduino Nano controls all LEDs by sending digital signals to different LED columns and layers.
💡 3D LED Structure
The cube contains 27 LEDs arranged in:
- 3 Rows
- 3 Columns
- 3 Vertical Layers
This creates a 3×3×3 cube structure.
🔌 Multiplexing Technique
Instead of controlling all LEDs individually, the system activates layers one at a time very quickly, making it appear that multiple LEDs are glowing simultaneously.
🎇 LED Animation Patterns
The Arduino program generates different lighting effects such as:
- Layer-by-layer blinking
- Vertical light movement
- Random LED patterns
- Wave animations
- Cube rotation effects
⚡ Power Supply
The cube is powered through the Arduino Nano via USB or an external 5V power supply.
🛠️ Hardware Used
- Arduino Nano (Microcontroller)
- LEDs (27 pieces)
- Resistors (220Ω or 330Ω)
- NPN Transistors (for layer control)
- Breadboard / PCB
- Connecting Wires
- USB Power Supply
- Soldering materials
✨ Key Features
✔ 3D LED cube structure with 27 LEDs
✔ Controlled using Arduino Nano microcontroller
✔ Generates multiple LED animation patterns
✔ Uses multiplexing technique for efficient control
✔ Compact and visually attractive electronic project
✔ Excellent beginner-friendly microcontroller project
✔ Can be expanded for larger LED cubes
📈 Applications
📚 Electronics learning project
🤖 Microcontroller programming practice
💡 Decorative LED lighting system
🎓 Engineering and robotics demonstrations
🧪 Educational STEM projects
🖥️ LED animation experiments
🚀 Future Scope
📡 Add Bluetooth control using HC-05 module
📱 Create a mobile app to control LED patterns
🎵 Sync cube lights with music using sound sensors
🌈 Upgrade to RGB LEDs for colorful animations
📊 Add custom pattern control through PC software
🔆 Expand to 4×4×4 or 8×8×8 LED cube systems
👍 Advantages
✔ Simple and low-cost electronics project
✔ Helps understand multiplexing and LED matrices
✔ Improves Arduino programming skills
✔ Visually attractive lighting effects
✔ Compact and portable design
✔ Easy to modify and expand
⚠️ Precautions
⚠️ Use proper current-limiting resistors for LEDs
⚠️ Ensure correct LED polarity while assembling the cube
⚠️ Avoid short circuits during soldering
⚠️ Secure the LED structure properly to prevent bending
⚠️ Do not exceed the Arduino Nano current limits


Leave a comment
Your email address will not be published. Required fields are marked *