🧤 Smart Sign Language Gloves using MPU6050, Flex Sensors & DFPlayer
🔍 Project Overview
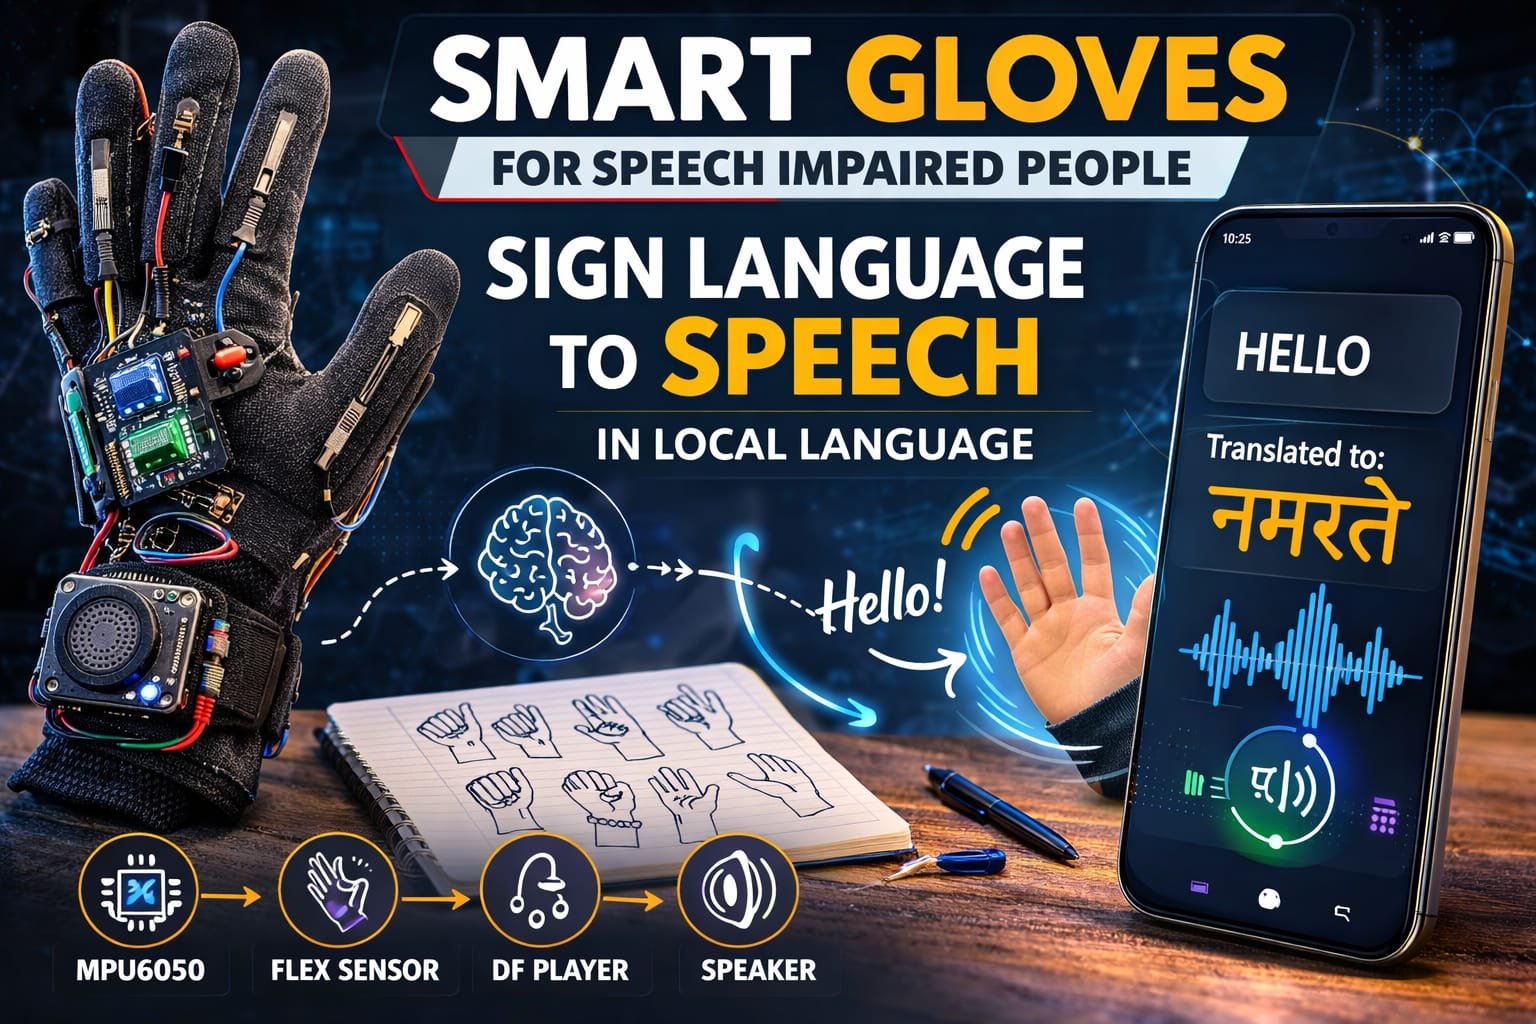
This project is a Smart Sign Language Translation Glove designed to help non-speaking or speech-impaired people communicate easily. The system uses flex sensors and an MPU6050 motion sensor to detect hand gestures and finger movements used in sign language.
When a user performs a specific hand gesture, the sensors send data to the microcontroller (Arduino Nano/Arduino Uno). The microcontroller processes the gesture and converts it into a predefined message.
The translated message is then played as audio through a speaker using the DFPlayer Mini module, allowing other people to understand the user’s communication in local spoken language.
This wearable system acts as a real-time sign language interpreter, bridging the communication gap between speech-impaired individuals and normal speakers.
⚙️ How It Works (Short & Simple)
🧤 Gesture Detection
Flex sensors attached to the fingers detect bending of fingers, while the MPU6050 sensor detects hand orientation and motion.
📡 Sensor Data Processing
The sensor data is sent to the Arduino microcontroller, which analyzes the gesture pattern.
🧠 Gesture Recognition
The Arduino program compares the detected gesture with predefined sign language gestures stored in the system.
🔊 Audio Output Generation
Once a gesture is recognized, the Arduino sends a command to the DFPlayer Mini module.
🎵 Voice Playback
The DFPlayer plays the corresponding audio message through the speaker in the local language.
Example translations:
- 🤚 Hand gesture → “Hello”
- ✋ Gesture → “I need help”
- 👋 Gesture → “Thank you”
🛠️ Hardware Used
- Arduino Nano / Arduino Uno
- MPU6050 Gyroscope & Accelerometer
- Flex Sensors (4–5 pieces)
- DFPlayer Mini MP3 Module
- Speaker
- Micro SD Card (for audio files)
- Gloves
- Resistors
- Jumper Wires
- Battery Power Supply
✨ Key Features
✔ Wearable smart communication glove
✔ Converts sign language gestures into voice output
✔ Uses flex sensors to detect finger bending
✔ Uses MPU6050 to detect hand motion and orientation
✔ Audio output in local language using DFPlayer Mini
✔ Portable and easy-to-use assistive device
✔ Low-cost solution for speech-impaired communication
✔ Real-time gesture recognition
📈 Applications
🧏 Assistive technology for speech-impaired people
🏥 Healthcare communication devices
🎓 Research in human-computer interaction
🤖 Gesture recognition systems
📚 Educational electronics and robotics projects
🌍 Sign language translation systems
🚀 Future Scope
📱 Add mobile app for text display and translation
🌐 Integrate IoT cloud-based translation system
🧠 Use AI and machine learning for better gesture recognition
🌍 Support multiple languages
📺 Add OLED display for text output
🎤 Convert gestures into real-time speech synthesis
👍 Advantages
✔ Helps speech-impaired individuals communicate easily
✔ Portable and wearable device
✔ Real-time voice output
✔ Low-cost and scalable design
✔ Easy to upgrade with AI and IoT technologies
✔ Improves accessibility and social interaction
⚠️ Precautions
⚠️ Ensure flex sensors are properly placed on fingers
⚠️ Protect electronic components from sweat or moisture
⚠️ Use proper power regulation for sensors and modules
⚠️ Secure wiring to prevent damage during hand movement
⚠️ Calibrate sensors for accurate gesture detection